
I have been practicing my nalbinding skills as part of my devotional work this year. One day, perhaps I will make socks and mittens. For now, I am making sampler wristbands so that I can practice lots of different stitches and see the fabrics they make. I’ve heard that nalbinding is all but impossible to learn without having somebody teach you in person. I’m out to prove that one wrong!
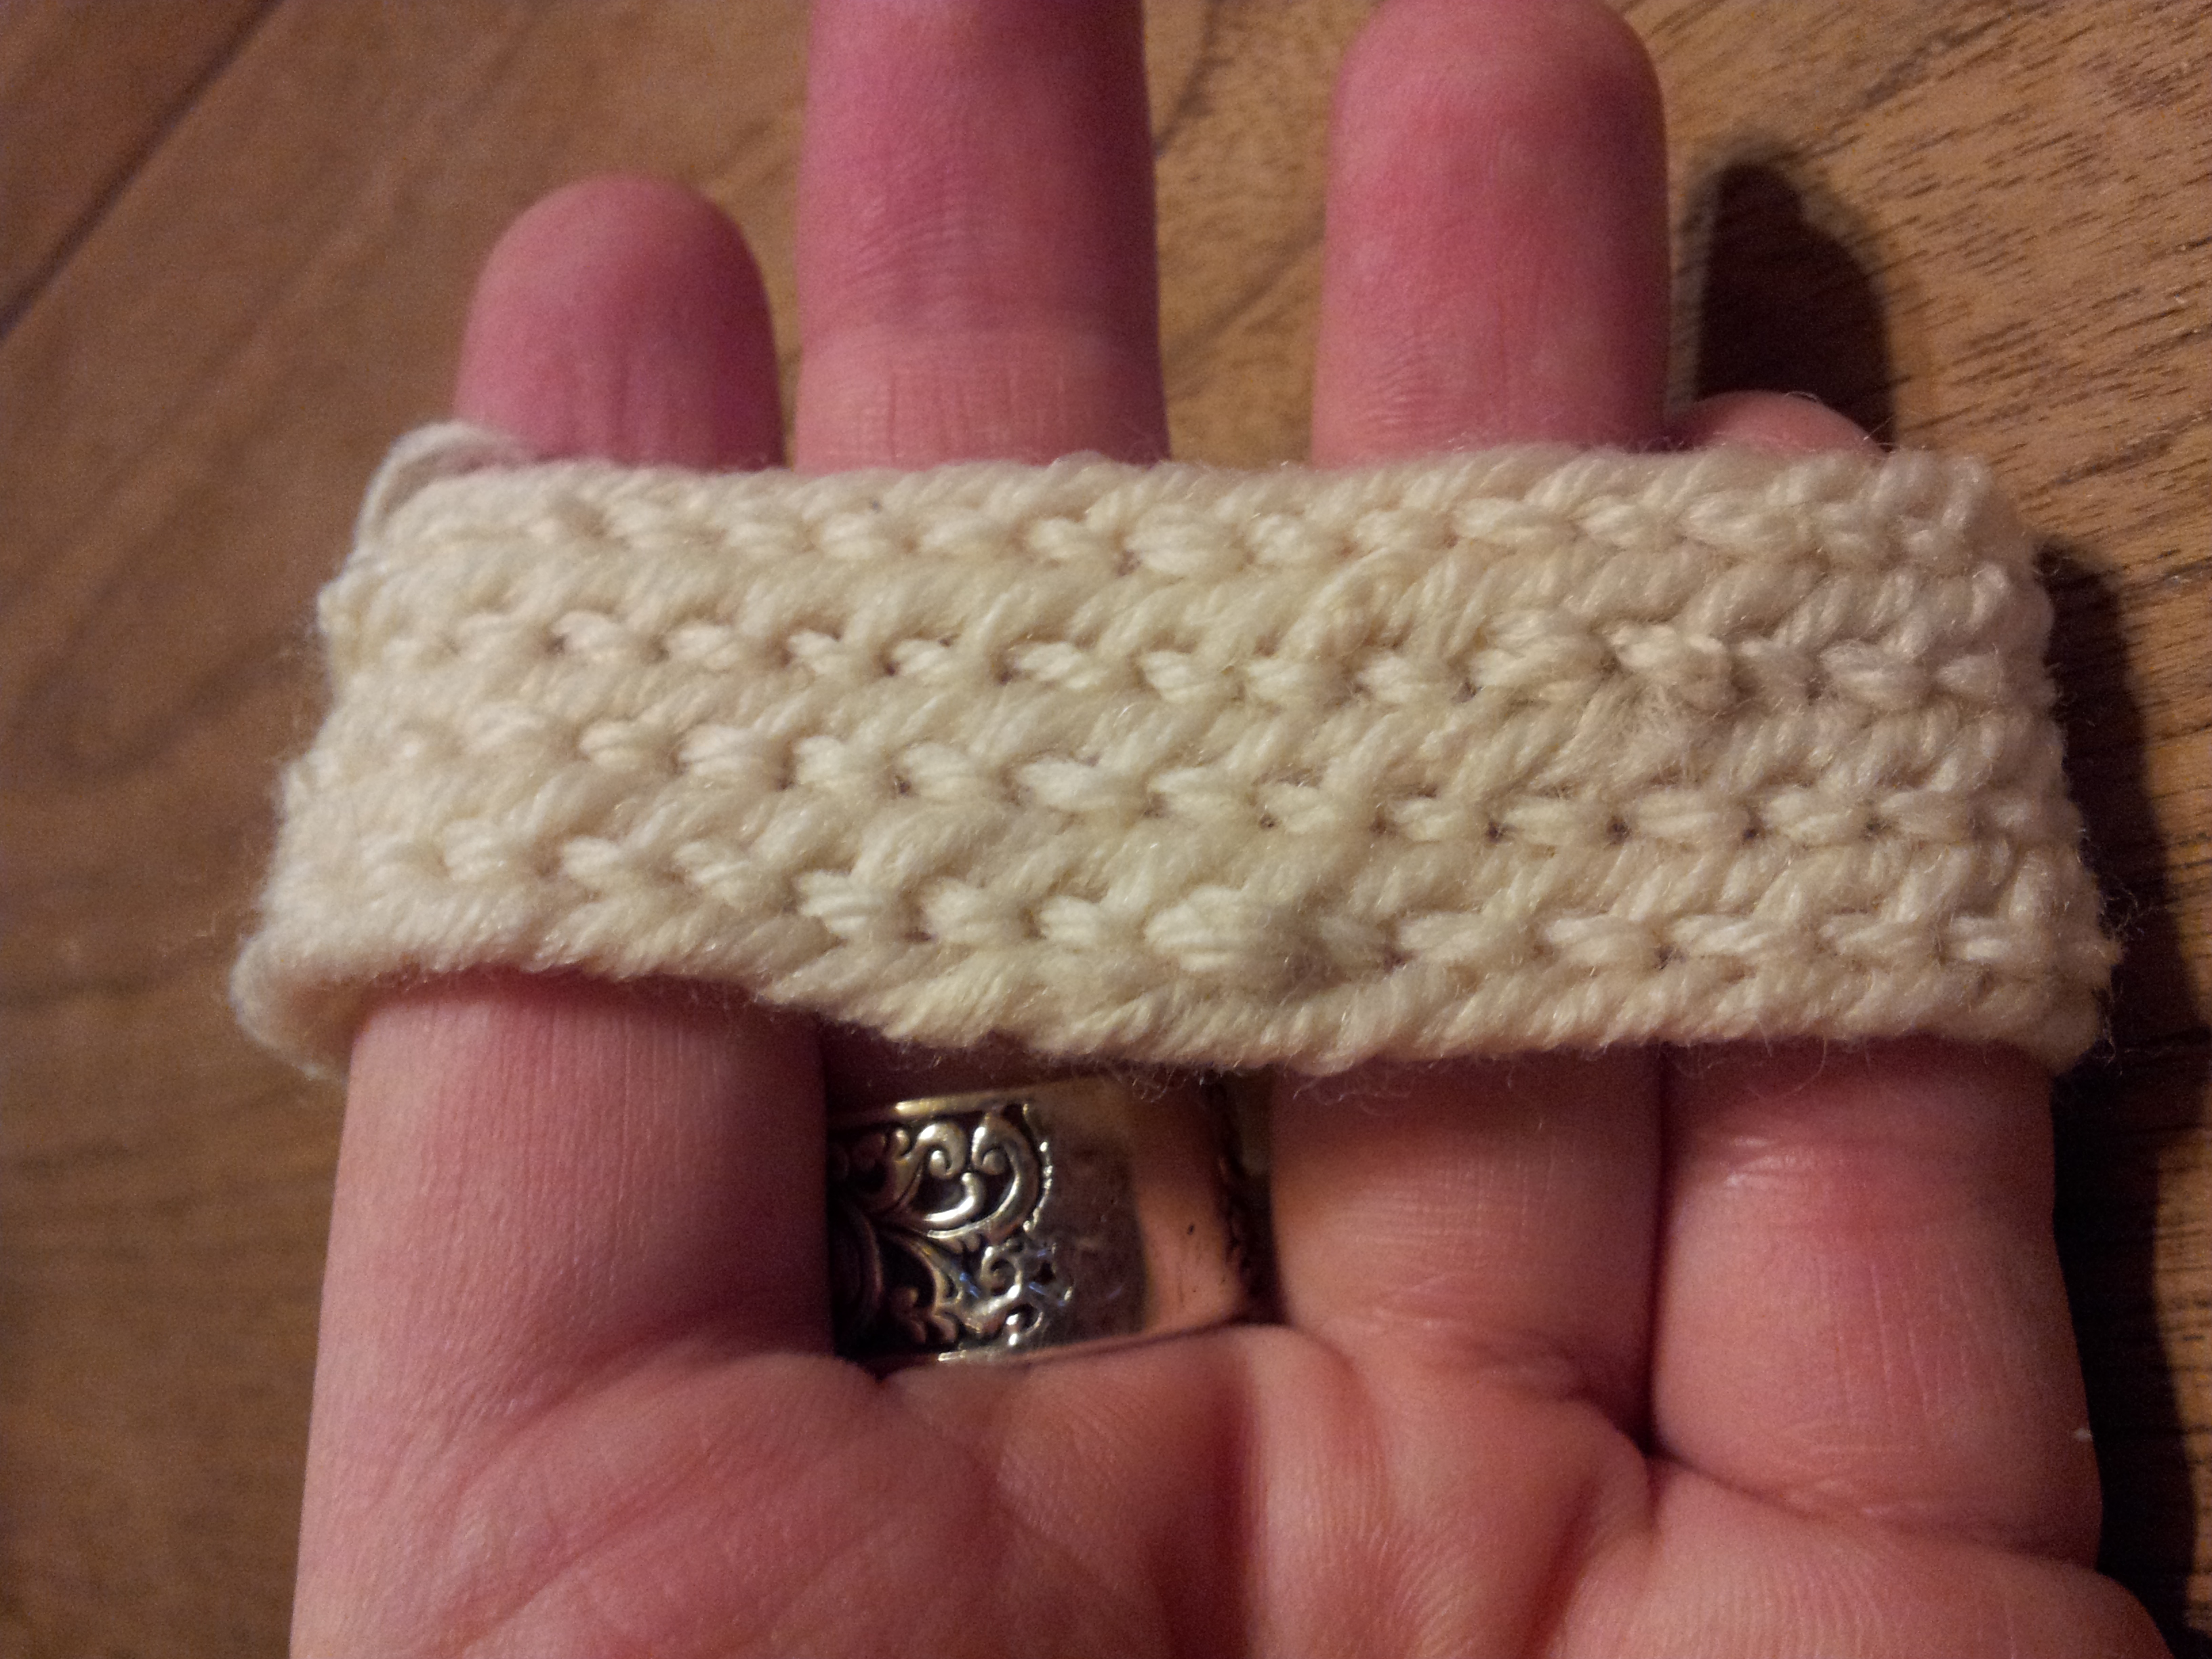 This is the basic Oslo stitch with a 2-loop connection, so UO/UOO F2.
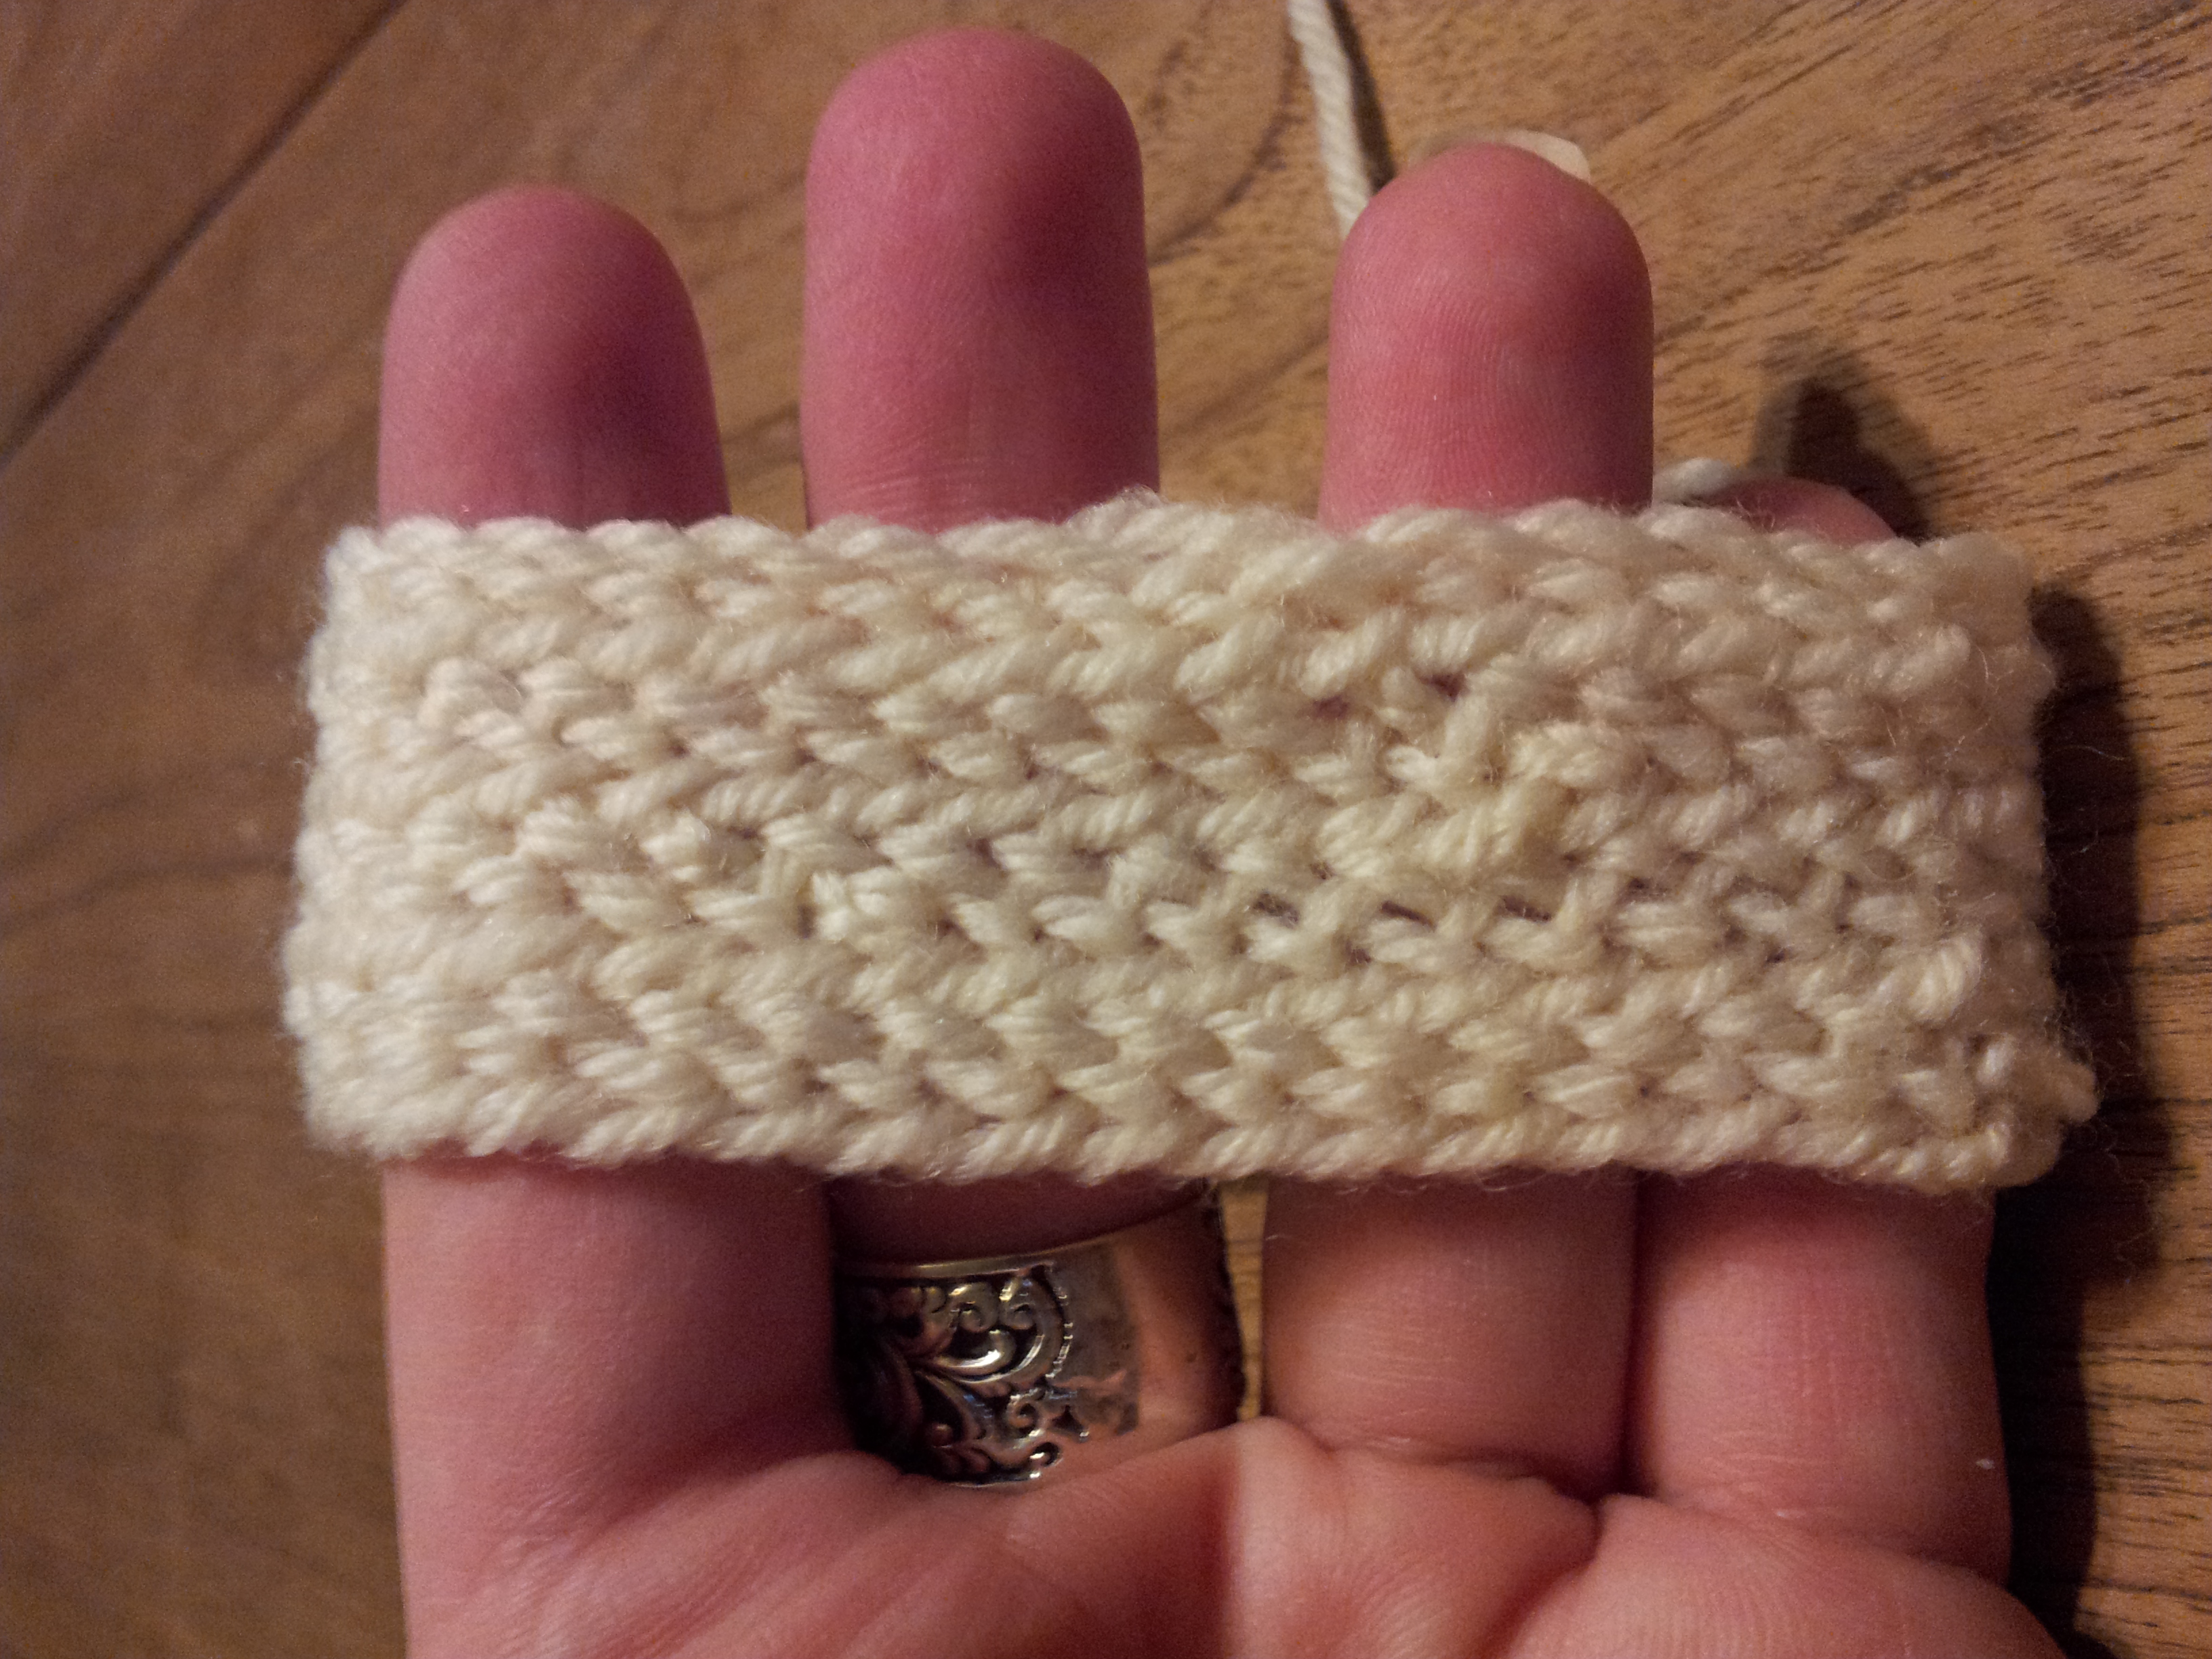 This is the Björsbo stitch, UO/UOU F1. It somehow makes a more intricate, thinner fabric. I want to do the Oslo with a F1 instead of a F2 connection next to see how that affects the fabric. So much to learn!
One of the things that was holding me back from nalbinding before was tension. I have very large hands for a woman, with big, fat thumbs. Nalbinding is traditionally worked on the thumb, and the tension works out because the thumb is the right size. Only, mine is NOT the right size! I tried using my pinky, I tried using a knitting needle, I tried working flat and freehand, but nothing worked.
I was fortunate to find at Con something that makes a fantastic nalbinding needle…almost. It was one of a collection of bone pins for sale at the Amber Fox’s stand (the one with the amazingly huge collection of ALL THE JEWELRY), about 4 inches long, a quarter inch wide at the top and a slight taper to the other end, and a hole through the top.
 This needle is just the right size to use for needle-tensioning with double-knit or sport weight yarn (thickness in between sock yarn and worsted weight). I still use my thumb for forming the stitches, but as I take each loop off my thumb, I tighten it around the top of the needle before pulling the needle through. As you can see in the pictures above, this is working splendidly.
The downside to this “needle” is its extremely blunt tip. In order to join new pieces of yarn, I was having to get out a tapestry needle that was sharp enough to poke between the plies of yarn. In the videos I’ve seen, though, the women are using the same needle for the nalbinding and for the joining. In addition, I found the tip a little too blunt for picking up the loops and forming the stitches, and I anticipated more difficulty as I moved on to more complex stitches. So I decided to further my ancient craftiness and recarve my needle to suit!
I tried a grinding stone and an exacto knife, but what I ended up using primarily was 100-grit sandpaper. In a few minutes of work, I was able to get a nice point onto my needle.
 Amazingly, the horn used for this needle was almost smooth enough that I could have gone ahead and worked with it right then. I wanted to at least try to get the new surface to match the old, though. First I went after it with 100-grit sandpaper. Then I put some plain toothpaste on a cotton napkin and polished it. The toothpaste worked amazingly well to fill in the little bit of roughness left by the sandpaper and gave the needle a velvety-smooth feel. I rubbed at it a while longer with a dry bit of cotton napkin, and then I got some plain hand lotion and rubbed that in and polished. While I didn’t quite get the original mirror finish, I got an incredibly smooth, soft surface that will never catch my yarn.
 My needle is definitely a needle now, pointy end and all, and I’m looking forward to working on some more nalbinding with it!